Google Sites is an excellent tool for students to use because it works equally well on computers, Chromebooks, iPads/iPods, and Android devices. It is both easy to get started with, and surprisingly customizable as well.
The opportunities to share ideas, projects and writing are endless. Here are a few tips to get you started...
First let's get started with basic navigation around creating and customizing your website:
1. Make sure you are logged in to you Google account.
2. Type in: sites.google.com
3. Click on Create button, and name your site (you can customize the Header Name later, this is creating your unique address on the web).
If you are not in a GAFE environment, then you will have to prove you are not a robot. Students with GAFE get to skip this step.
4. Customize for smaller/bigger screens:
Here are all the customizable options: select "Manage Site"
Scroll down to "Mobile" and check it to make your website mobile-friendly.
Create a website with 16 pages.
Once you have created 16 pages, you will need to add the links to connect the pages of the book. This image shows you which pages connect to which pages for a 16 page story. Feel free to switch it up as you like, this is just a basic template to get you started.
I created a template for Choose Your Own Adventure stories on the Google Sites Template Gallery.
How to locate the Choose Your Own Adventure Template:
Now let's get past any chances for Writer's Block. Students love apps on their devices, especially games. There are several games that they could take screenshots from and they could then use the screenshots to write a story about the characters in the game. There are a lot of options to choose from, and their will always be newer games coming along. Some options are: Angry Birds, Plants v.s. Zombies, Geometry Dash, Temple Run, Leo's Fortune, Crossy Road.
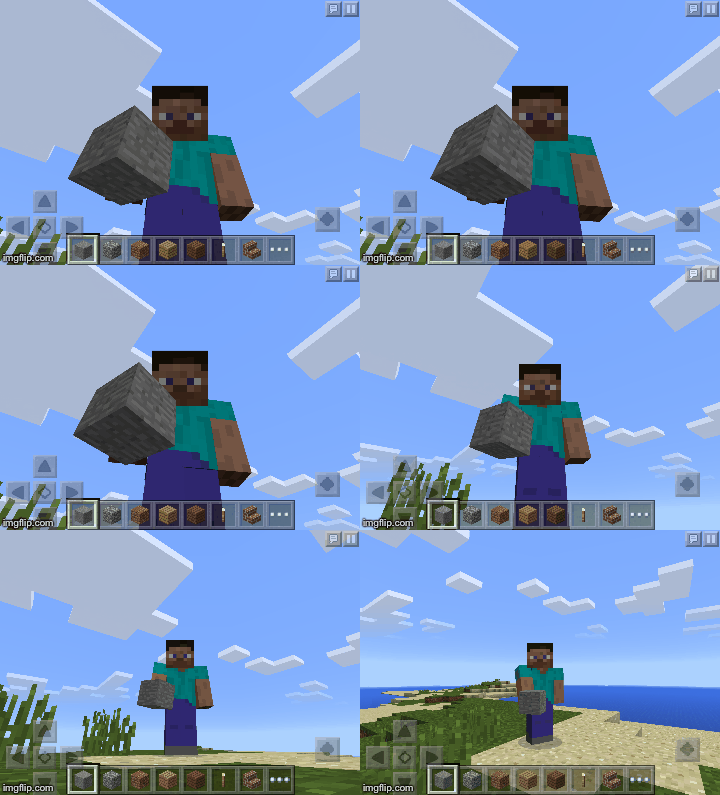
Here are some sample images from Minecraft, and Epic Citadel. Their rich landscapes beg to be written about!
An Exciting Splash Page (Cover of your Book)
The "Home" page will be the cover of your book.
Try designing something that will "pop" so someone will want to read your book.
Adding a .gif (moving picture) will keep the page from looking static.

What exactly is a .gif? Click here for more than you ever wanted to know about .gifs.
To create a .gif you will need a series of pictures. We will use Epic Citadel or Minecraft.
Games with great imagery for stories:
Epic Citadel is free and available in the Play Store, or App Store.
Minecraft in $7.99 in the Play Store, or the App Store.
Getting Pictures:
To get pictures for a .gif, enter the app you prefer and find a scene that you can use for your story. Find a place where some part of the scenery is moving. Taking a series of screenshots will allow those parts to be moving in your story. If your character is walking then try to take a screenshot and move forward and slightly to the right, take another screenshot and move slightly to the left, and so on.
If you do not have either app you can still make a .gif.
Click here for images taken in Epic Citadel.
Click here for images taken in Minecraft.
Creating Gifs:
To create your gif:
Make Gifs online (upload to cloud):
This works on mobile devices, and Chromebooks/Computers.
Once you have uploaded your images to create the .gif,
make sure you select and copy the Image HTML link:
After you have copied the IMG HTML code, make sure to paste it somewhere for reference later, as sometimes the .gifs become mysteriously static after a while. I always save these HTML IMG links in a Google Doc for easy access if I need to reinsert them in the website.
Adding Links to each page:
Now we need to add links for each choice when we get to the end of a page of our story.
The nice thing about Google Sites, is that it is easy to link to different pages on the website. It is actually the first choice that comes up when entering links.
Write sentences that give a choice of what the characters should do next:
"If you think they should enter the cave, click here."
"If you think they should head back down the mountain trail, click here"
Highlight each "here" and select the page where you will write that part of the story.
For each one, click the link symbol:
then...
If that part of the story is a dead end, make sure you give a link to get back to the previous page, or to the beginning of the story.
Removing Navigation:
To make our website more like a book, we will be removing the navigation completely. That means the only way to advance is to click on links on each page of the story. Go to the Settings Wheel and choose "Edit Site Layout".
Click once on "Horizontal Navigation", and it will disappear. Click on Header as well, and it will disappear as well.
Now it will just be a "Page" when someone reads your story!
Here is an example of a Choose Your Own Adventure" Site:
Finally:
Create a bookshelf website to house all the student's stories.
Each story can be linked to the bookshelf page, along with a screenshot of the Book Cover.


No comments:
Post a Comment
Note: only a member of this blog may post a comment.