I believe that all children should have access to “learn to code” resources available today. This is not a reality however, as many do not regularly have access to the internet, or to a computer. Tablets are excellent tools, but access to the most popular tool for Elementary students learning to code - Scratch (https://scratch.mit.edu/) is not an option.
I have been thinking about a way to give better access to more children, and originally thought a Raspberry Pi loaded with video tutorials on how to start coding with Scratch would be a great option. The cost is reasonable and video would be easy to watch on the device and they would work on Scratch right on the Raspberry Pi.

The snags were - different versions of Scratch, 1.4 on the Pi and 2.0 on the web and in the video tutorials I originally created for internet access were all for Scratch 2.0. This might not seem like a big deal to children used to using computers and apps on a regular basis, but might prove a bigger roadblock to children with little, or no experience with technology. The second issue was that they might not have access to a screen, keyboard and mouse which would give them no access to the Raspberry Pi.
When I saw the touchscreen options available for the Raspberry Pi, and that Scratch 2.0 recently became available offline on Pixel OS (Raspbian Operating System on Raspberry Pi) I decided to build a reasonably cheap, touchscreen computer that would need nothing extra to function. It can still be hooked up to a monitor, keyboard and mouse if those are available, but it is useable with nothing more than an outlet.
For my build, I picked up a 4000 mAh Portable Battery Charger from Walmart for $5.00 to make it useable anywhere. There are several touchscreens available for the Raspberry Pi, I chose the official 7in. Screen from the Raspberry Pi foundation (It was super easy to connect to the Raspberry Pi, it all comes together in a few easy steps.
You will need:
1. Raspberry Pi 3B model: https://www.buyapi.ca/product/raspberry-pi-3-model-b-armv8-with-1g-ram/
(All my links are from a Canadian website, but these products are widely available)
2. Official Raspberry Pi 7in. Touchscreen:
3. Case for the Screen and Raspberry Pi:
I plan to 3D print the next case, there are plans freely available on the internet, so this will bring the cost of the build down a bit.
4. Any 5v microUSB cable should work, and a portable Battery Charger is a bonus:
How To:
1. Connect the white ribbon to the connector on the display adaptor board for the screen and the Raspberry Pi. To insert it, you will need to pull out on the tabs that holds the ribbon into the connectors. Pull upwards with gentle pressure and then insert the ribbon. The ribbon doesn’t go in deep enough to completely cover the metal strips on the end, don’t try to force it all the way in.

2. Next we need to connect power from the Raspberry Pi to the Display Adaptor Board. You will need two wires to do this, 4 are included in the display box. I used red for power, and black for the ground, but it makes no difference which colour wires you use.
The pins are clearly marked on the Adaptor Board, 5v for power, and GRD for ground to complete the circuit. They attach to to GPIO (General Purpose Input Output) pins on the Raspberry Pi as seen in the picture below. The power attaches to the first pin on the top row, and the ground attaches on the fourth pin. There should be two pins in between. Connecting the screen to the Raspberry Pi in this way allows you to power both through the microUSB connector on the Raspberry Pi. Make sure you have a 5v adaptor when you connect to power everything.

3. Now you’re ready to plug in and check to make sure all connections are secure and that the screen works. Plug in the Raspberry Pi and check the screen, you should see the Pixel OS screen (if you installed Pixel on your SD Card).
4. If you installed in many of the cases available for this screen, you will notice that the image is upside down. There is an easy fix for this, but to begin connect a usb keyboard to update/add a few things.
Open up Terminal and type:
“sudo apt-get update” without the quotation marks.
This will ensure you have the latest update of your current distro of Raspbian (Pixel OS).
Once that is completed type:
“sudo apt-get dist-upgrade”
This will ensure you get the latest updated build of Pixel to which you can add Scratch 2.0
To add the Scratch 2.0 coding environment:
“sudo apt-get install scratch2”
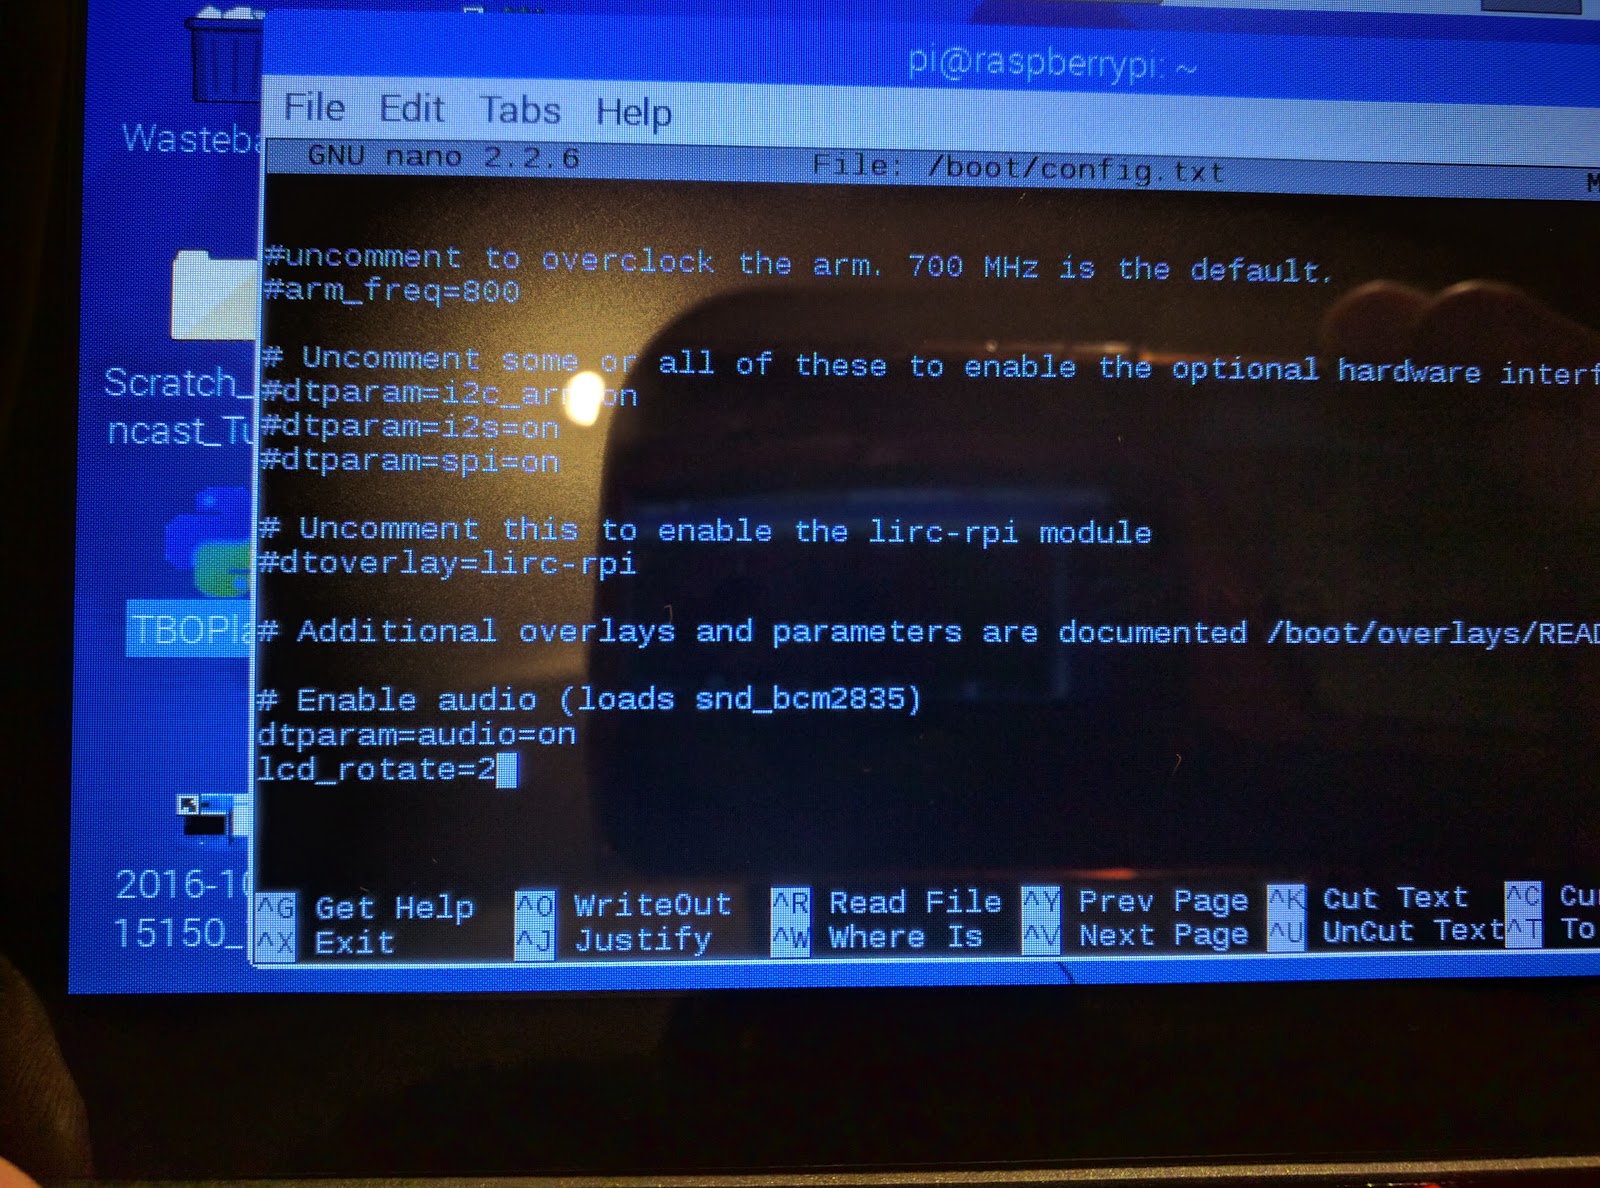
5. Now we need to add a line to the startup boot file that will flip the screen the right way for the case.
In Terminal type:
“Sudo nano /boot/confix.txt”
You will see the screen below. Add this to the bottom of the file:
“lcd_rotate=2”
Then press the ‘control key + x’ to exit and save.
The screen will flip once you reboot the Raspberry Pi.
To properly reboot type this into Terminal:
“Sudo shutdown -r now”
It will take a minute, but the Raspberry Pi will reboot and your screen will have flipped.
6. Now we need to install a keyboard, the most popular choice is Matchbox Keyboard.
To install type into Terminal:
“Sudo apt-get install matchbox-keyboard”
After another reboot it should be accessible in “Accessories” under a new section “Keyboard”. You do need to manually select it this way when you restart the Pi.
That’s about it! You should be up and running! I also installed Kodi to play the video tutorials I loaded onto the computer, and there are several coding options built right into the Raspberry Pi to explore.
Thanks for reading, and Happy Coding!
No comments:
Post a Comment
Note: only a member of this blog may post a comment.